Before you start using Tradevine
There are a number of steps that need to be completed before you start using Tradevine to list and sell your products. Some of these you have completed during the Setup Wizard, but if you haven't it's important to make sure you've covered these points.
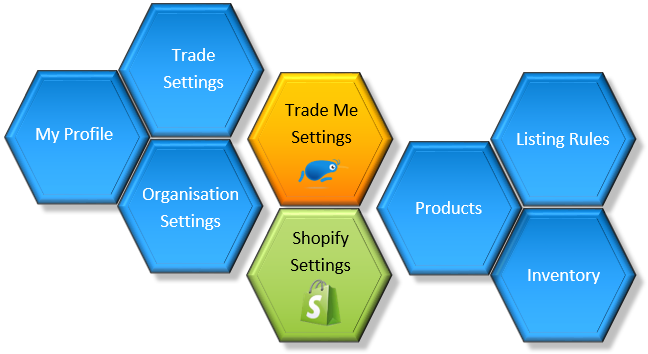
- If you are using Inventory,
- Verify that Enable Inventory is switched on for new products, in the Organisation » Trade Settings page.
- If you have switched on inventory for any products then you next need to load the inventory.
- If you are using Trade Me,
- make sure you have connected to Trade Me,
- ensure all your Trade Me settings at the organisational level have been updated including Auto-Feedback, Auto Reminders, and High Volume Listing Fees.
- If you are using Shopify,
- check your Shopify settings are correct for connecting to Tradevine, then
- connect to Shopify, then
- check that your Shopify settings with Tradevine.
- If you are going to use Xero as your accounting system,
- ensure that you have stepped through the authorisation and setup steps.
- Import a csv type file of your products into Tradevine. NOTE it's important to have a cost price column in the file if you are using the Inventory feature.
- Upload your photos either by importing them from Trade Me or from a website or by uploading them from your computer.
- Go through each imported product and make sure you have set the product specific information, pricing and Trade Me settings required before starting to list products on Trade Me.
- Start by manually listing your products, and when you are comfortable with how Tradevine manages the listing, switch on global Auto-Listing so that Tradevine can handle your listings automatically.
Start using Tradevine
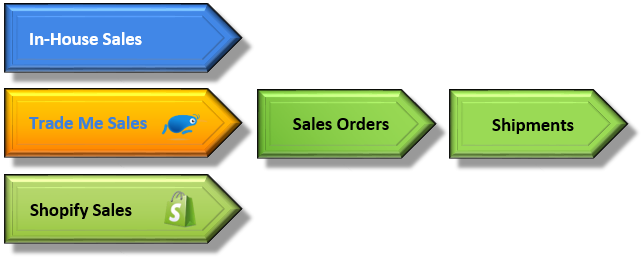
Once all your listing information is set up in the system and your listings are up and running, you can start using Tradevine to manage your daily business processes.
- If you are using Trade Me and have already set up your products, then we recommend you navigate to the Listings screen under the Sales menu and select the Import active listings link near the bottom of the screen, to bring across any current active listings, which already existed in Trade Me.
- If you are using Xero, reconcile all your payments in Xero, Tradevine will automatically pick up that these Invoices have been Paid. If you are not using Xero, mark all Sales Orders as Paid for which you have received payment.
- Make sure all your address information has been correctly captured. If customers have filled in their delivery information on Trade Me, this information will already be in Tradevine. But if they have manually sent this in an email to you, you will have to update this in the Sales Order.
- Go to the Shipments tab and select Print orders ready for pack to automatically print out all the pick lists for shipments that are ready to be sent (they have been paid, have available inventory and have not yet been printed).
- Pick the stock for each order.
- Confirm the shipments using either the Fast Shipping screen (great for fully fulfilled shipments) of from the Awaiting Pack tab of the Shipments screen, open each shipment. Enter or scan in any tracking references and courier details etc. Confirm the shipment and select the documentation, emails or shipping labels to also be dispatched.
- On a regular basis, renew your stock by raising purchase orders. This process can be partially automated, providing you have configured your products with the supplier details. Use the Auto Reorder button on the Purchase Orders screen to auto print the next set of purchase orders. Receive in the goods via the Goods Receipts screens.
- Use your Dashboard to monitor your latest sales activity. Many of the links will take you to key areas, which require your attention.