Step 1: Connect to Xero
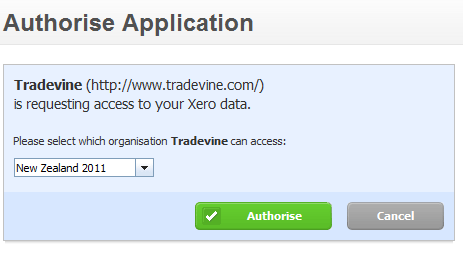
To interact with Xero, Tradevine needs to be authorised by Xero.
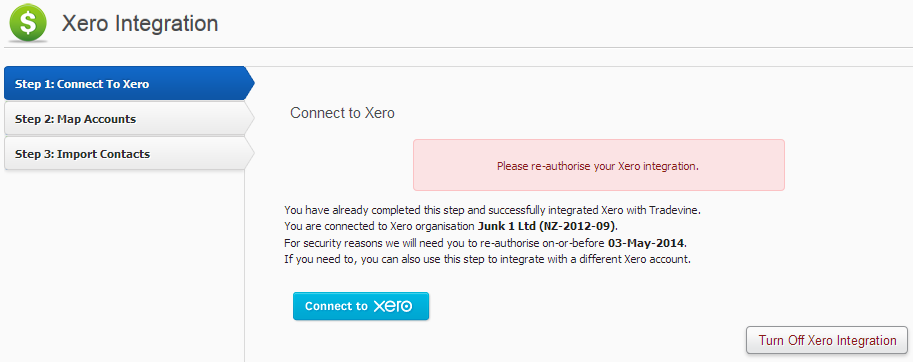
First you will need your login details for Xero, so you will need a Xero account, if you don’t have one already. Then you can log into Tradevine and set up an authorised connection. The Xero Integration screen can be found under the Settings cog icon.

On Step 1 use the Connect to Xero button to authorise and connect Tradevine to Xero.
Step 2: Map Accounts
Note You might like to get your accountant to assist with setting up the account mappings. The expected Xero account types for the account mappings are indicated in the square brackets below.
Revenue
- Sales [Revenue Account]
- All product sales are coded against this account.
- Shipping (Sales) [Revenue Account]
- Account to where shipping sales are coded against, this could be the same account as the Sales account, but can be different for information and reporting purposes.
Expenses
- Shipping (Expense) [Expense Account]
- Any shipping expenses incurred are coded to this account.
- Trade Me PING Fees [Expense Account]
- Optional. Account to where TM PING Fees will be coded against, Tradevine adds this line to an Invoice when PING is used as a payment method, so that when PING payments are transferred into your account, the payment will reconcile with the invoice in Xero. This account is not mandatory to map as not all Trade Me sellers will be using the PING feature. If we detect that you are a Trade Me Top Seller then we will use the 1.89% rate instead of the default 2.19% rate.
Inventory
- Stock on Hand [Current Asset]
- Value of stock that has been purchased but not sold.
- Cost of Goods Sold [Direct Cost]
- Inventory costs of the stock a business has sold.
- Obsolete Stock [Expense]
- Account to where obsolete stock will be written off.
- Stock Breakage [Expense]
- Account to where any stock breakages will be written off.
- Inventory Variances [Expense]
- Account to use for any inventory adjustments.
Accounts
- Cash [Bank Account]
- Optional. Account where all cash sales will be coded against.
- Tracking Categories
- Optional. Hook this in if you have configured Tracking in Xero. Useful for tracking sales from multiple sales channels.
Here is an example of the accounts set up with Xero. Please note that all inventory adjustments for breakage, obsolete stock and inventory variances are going to a single account, but if you wanted to track these separately, you would code these to three separate accounts.
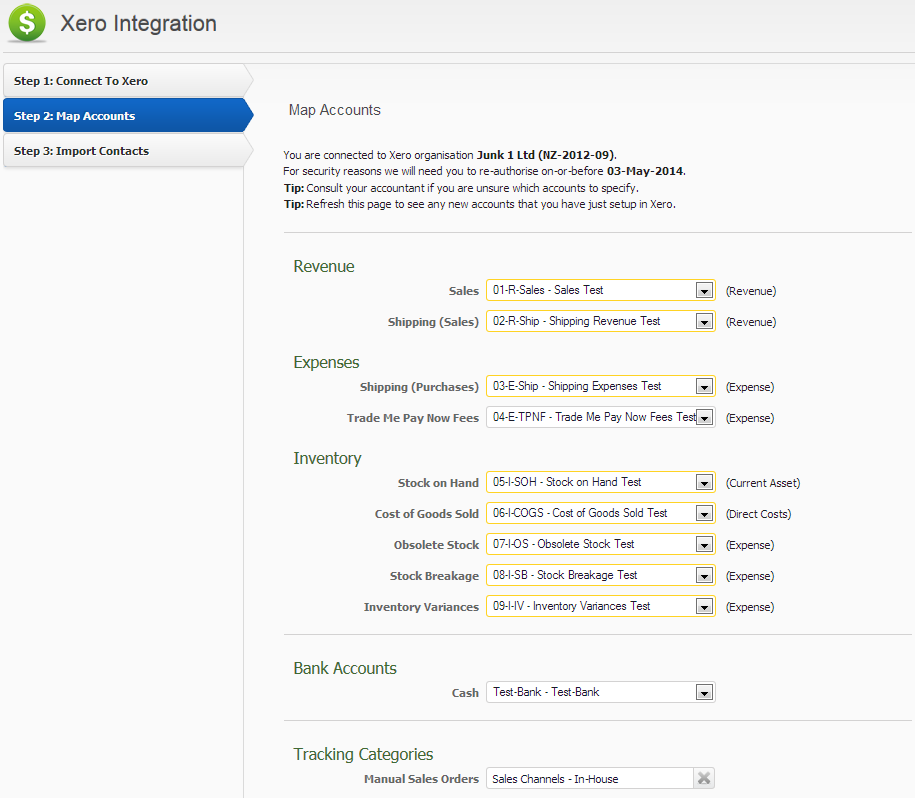
Many of the account mappings are mandatory and if these are not mapped, then your sales orders, goods receipts and inventory journals will not be created in Xero. When the mandatory accounts have not been mapped you will see an on-screen message similar to this:

The Trade Me PING Fees and the Cash account mappings are not mandatory.
We disable the integration if any of the mappings are missing because it can cause issues in Xero.
Step 3: Importing Xero contacts into Tradevine
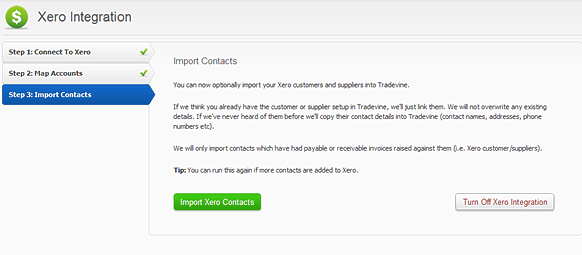
You can import all your Xero contacts into Tradevine with a click of a button. This can be run at any time and will only import contacts that don’t already exist in Tradevine.
NB We will only import contacts which have had payable or receivable invoices raised against them (i.e. Xero customer/suppliers).
During the import, we will only create new records in Tradevine. We will not update imported Xero contact records in Tradevine, that are updated in Xero after the initial import.
Manually turn Xero off
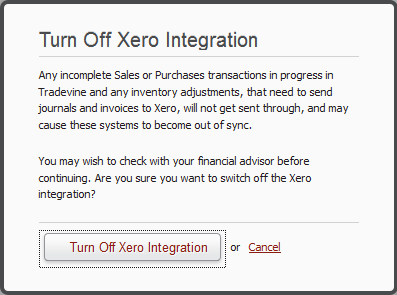
You can suspend Xero temporarily or permanently at any time by selecting the Turn Off Xero Integration button. You will then be presented with a warning dialogue, which will outline the potential hazards of doing this.
You can turn Xero back on at any time by then selecting the Turn On Xero Integration button.
