This feature is deprecated
Once you are authorised with Shopify you can configure the way you want to publish each product in your Shopify webstore.
Tradevine should be regarded as the master and all updates should be done on the Tradevine side, otherwise you will risk getting your data into a mismatched state.
You can have more than one Shopify webstore.
There is no quantity to set for your Shopify products. Tradevine automatically updates the inventory in Shopify for you. If you are also listing on Trade Me then stock will be allocated to Trade Me before Shopify. If the product is an MQL (multi-quantity) then Trade Me will be allocated all but one of the stock, leaving one item available for Shopify. When there is only one item in stock then that will be allocated to Trade Me first.
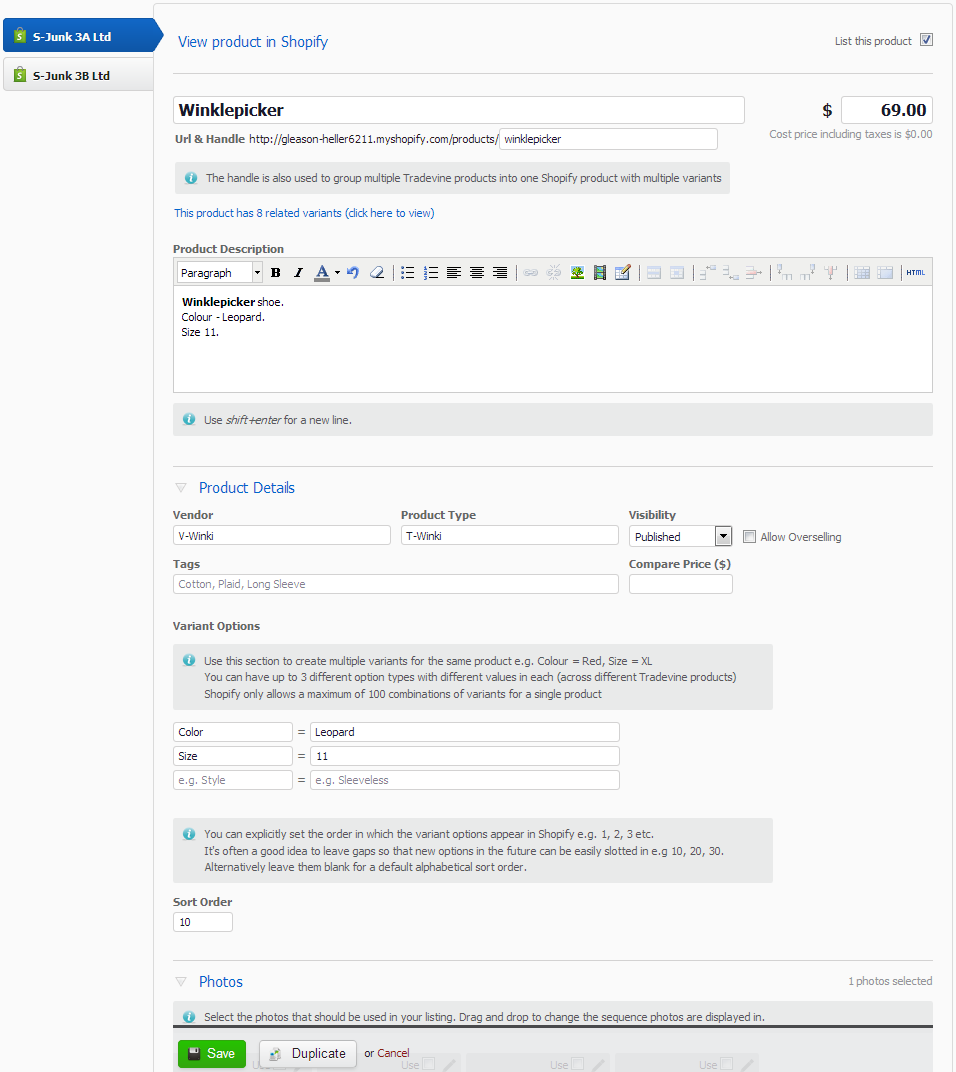
You can quickly visit your webstore by selecting the View product in Shopify link and logging in. The link is only available if you have authorised the webstore.
If you have not set your products to auto-update in Shopify, then a courtesy warning will be displayed, advising that product updating is off. When auto-update is off, you will have the choice of doing an ordinary Save or a Save and Update Shopify. With auto-update on, every time you save, the product will be updated in Shopify.
When you save, the product’s barcode and stock level will also be pushed across to Shopify. Anytime the product’s inventory changes, the new stock level is again pushed across to Shopify.
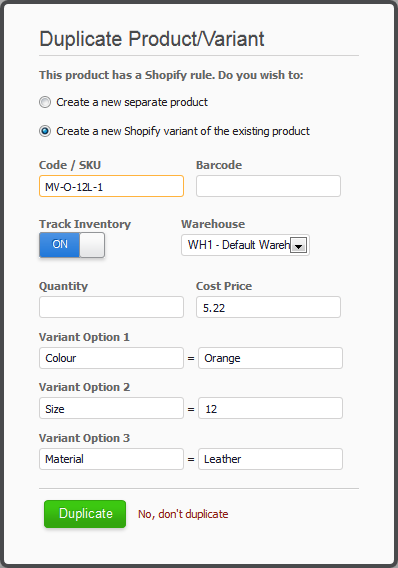
You also have the option to simply duplicate the product or duplicate and configure the product as if the product was a Shopify multi-variant type product.
The following details the fields on the Shopify tab:
- List this product
- This controls the existence of the product in Shopify.
- Saving with this set to off, will remove the product from your Shopify webstore. You can recreate the product by selecting the checkbox and saving to Shopify.
- Note: archived products are automatically removed from Shopify.
- Title
- The product title to display in your webstore.
- Sell Price
- The purchase price including any taxes.
- URL &Handle
- By default we will set the handle based on your title. You can change this at any stage to make a more meaningful URL for your Shopify store.
- Product Description
- The products description, which can also be formatted using HTML.
Eg, Product 17 <p>The worlds first <b>super product</b>.</p>
Would display as:
Product 17
The worlds first super product. - Use the formatting toolbar to format your text and add tables and lists etc.
- The description can be up to between 40,000 to 50,000 characters, depending on the extent of the HTML used.
- The HTML button on the toolbar is useful for viewing or pasting in your HTML formatted text.
- Use SHIFT+ENTER to create a small line spacing and just ENTER to create a large line spacing.
- Vendor
- Sets the main Vendor for the product.
- Type
- Sets the main Type for the product.
- Visibility
- Sets the visibility of the product in your webstore. Providing the List this product checkbox is selected, then the product will always be visible in your Shopify Admin screens.
- Published means buyers can see the product in your webstore.
- Hidden means your products will only be visible to you in your Shopify Admin screens. Buyers on the web will not be able to buy the product because they will not see it.
- Hidden is useful for hiding your products when they are either not ready or available for sale.
- Allow Overselling
- This allows you to sell products when there is no stock available.
- Tags
- These are the search tags you can specify for each product. Separate multiple tags with commas.Eg, blue, kitchen, kitchen appliance, coffee, grinder. Tags allow buyers to search and find your products when they visit your storefront.
- This field is optional.
- Compare at Price
- This is essentially the recommended retail price.
- Variant Options
- These are the option names and values, if you have a multi-variant type product. You can have up to 3 types of options and up to 100 sets of variants for each product in Shopify, that is linked to the same variant.
- Sort Order
- You can determine the order that each product variant is sorted or ordered in Shopify by setting the Sort Order. In Shopify the product variants will be displayed in an ascending order, with the lowest number at the top. We recommend you use a numbering sequence that leaves some gaps, so that you can slot in, any future changes, without having to re-do every product variant.
Photos
Your existing product images will all be displayed on the Photos panel. Use the Photos tab to upload or delete your product images.

You can select the images to use by selecting each images Use checkbox.
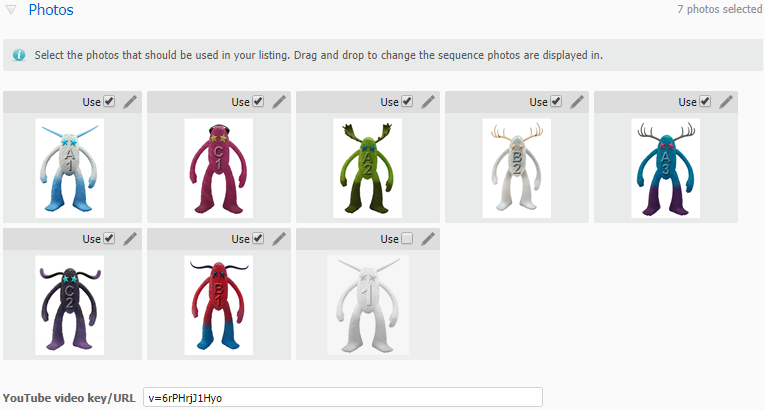
The leftmost image will be the main photo that is displayed in Shopify. You can stop images from appearing in Shopify by deselecting the Use checkbox.You can change the order sequence that the images are displayed in by dragging and dropping the images into the leftmost sequence you want.
Selecting an image will display a larger image and some summary information. Selecting an images pencil icon will display the Photo Editor where you can enhance your image.
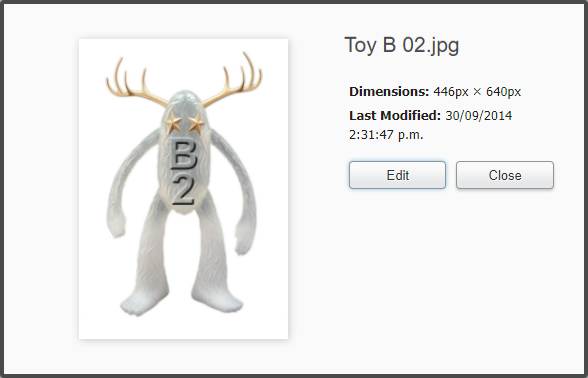
Selecting the Edit button will gain you access to the Photo Editor.
We cater for GIF, JPG, JPEG, BMP and PNG image types. In Tradevine and Shopify the transparent areas will be retained.
We restrict image sizes to a maximum of 10.24Mb. Images greater than 2048 pixels high or wide will be resized with a maximum side of 2048 pixels.
- Shopify Product ID
- Once your products exist in Tradevine, you can export a product file to get the Product ID of each product. You can then use this to ensure any re-importing updates the correct product. You shouldn’t need to change the IDs.
- Shopify Variant ID
- Once your products exist in Tradevine, you can export a product file to get the Variant ID of each product. You can then use this to ensure any re-importing updates the correct product. You shouldn’t need to change the IDs.